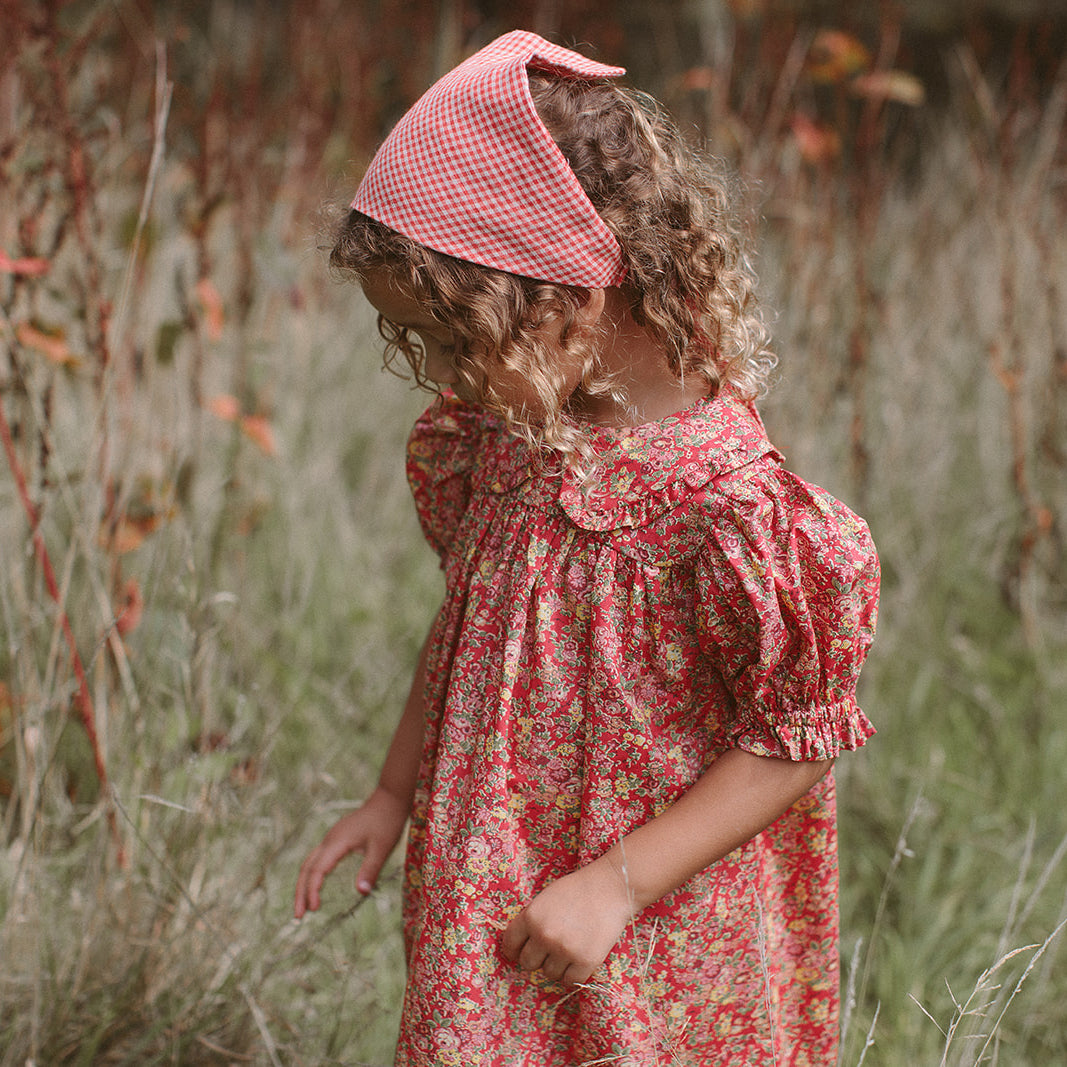
May 2024
We're so excited to share another monthly journal written by the lovely Lola Jones, also known as @pocketfullofbuttercups on Instagram. Lola is a wonderful photographer and all round creator of beautiful content, raising her twin daughters Maya and Chloe & her youngest Thea from her house near the Peak District. Each month she will give us a small glimpse into her world, inspiring you with activity ideas, recipes and more.

In this month’s journal I share a deliciously refreshing recipe for those upcoming picnics and
alfresco dinner parties, a sweet craft to make with your little ones inspired by the seaside and a
simple DIY of an accessory for your home.

Handmade Flower Frogs
We often venture out on various walks with my girls and they love picking wild flowers for me. I
love that they love to do that. I always keep whatever they picked for me and we bring those
stems or small posies home.
These flower frogs (how adorable is the name!) are perfect for designing small floral arrangements
in tiny vases or jars instead of just cramming the flowers altogether randomly.
Staying true to my usual style of crafts - these are extremely easy to do and super versatile. You
can make them in various shapes and sizes, leave plain or add colour, or even create patterns
using lace doilies or flower stems to make impressions in the clay. You could even personalise
them by stamping words using alphabet stamps on the clay while it is still wet.
For this craft you will need:
- Air-drying clay
- Rolling pin
- Greaseproof paper
- Vases or jars you are planning to place the frogs onto
- Knife
- Cookie cutters
- Something to make the holes in the clay with (straws, pens of various thickness etc.)
- Fine sandpaper
Start by rolling out a piece of the clay to about 5 - 8mm thick. Next, you can add a pattern to your
clay if you like. Place a lace doily or some flower stems and roll the rolling pin over them a couple
of times. Gently remove the doily or the stems. Now you can either use a round or a flower-
shaped cookie cutter to cut your clay or place the jar you are making the frog for upside-down
and cut around it with a knife. Next make the holes in the clay - add the holes of various
thickness, so you can have thicker and thinner branches sitting in your jar. Brush the edges of the
clay with a little water (using just your fingers or a paintbrush). Let your clay dry completely. Once
dry, gently smooth the edges with a fine sandpaper and the flower frogs are ready to be used.
Place them on top of the jar filled with water and it is ready for the flowers to be arranged.


Lime Posset
This is a super simple and delicious dessert that I have been meaning to try for a while and it did
not disappoint! You only need 3 ingredients to make it. It’s the perfect dessert for a dinner party or
simply as a refreshing treat on a warm summers day. It can also be made ahead of time and kept
in the fridge for a few days.
I chose to serve mine in the lime skins by scooping out the flesh, but they can also be served in
ramekins or small glass dishes or jars.
Ingredients:
- 3 large limes
- 540 ml double cream
- 150 g granulated sugar
- About 80 ml freshly squeezed lime juice
- 1/2 tablespoon lime zest
Method:
Cut limes in half lengthways. Run each half over a juicer and set the juice aside to use in the
recipe. If using the lime shells to serve the dessert in, then you need to scrape all the flesh out of
each half until they are smooth on the inside. Place the cream and sugar in a pan and bring to the
boil, stirring occasionally until the sugar is dissolved. Turn the heat down and let the mixture
gently cook for five minutes, whisking occasionally. Remove the pan from the heat and add the
lime juice. Let sit for a few minutes and whisk again. You will notice that the mixture has
thickened. Add the lime zest. Pour the mixture into the prepared lime shells or other dishes you
are using to serve the posset in. Place in the fridge to set - about 3hrs or longer (depending on
how deep the dishes are). Enjoy chilled.


Egg Carton Whales
This is a fun way to recycle egg cartons and a lovely little DIY to try with your children.
You will need:
- Egg cartons
- Scissors
- Paint (acrylic is better, but good quality watercolour might work too)
- Glitter
- Hot glue and gun
- Craft glue
- Colourful paper for the tail and fins (alternatively you can paint some sheets with watercolour)
Cut the egg carton into individual cups, tidy a little around the edges and paint. While the paint is
still wet, sprinkle with glitter and leave to dry. While the paint is drying, make the water fountains
that will sit on top of your whales by squeezing out hot glue in a shape of a little fountain onto a
piece of greaseproof paper and immediately sprinkle with glitter. Leave the glue to harden. Once
the paint is dry, draw the eyes, smile and cheeks. Next, hand draw the tail and two fins from the
coloured paper or the paper painted with watercolour. Cut them out, spread a little craft glue and
sprinkle with glitter. Let dry a little and then attach to the body of the whale with some more glue.
Peel the fountains off the greaseproof paper and attach with more hot glue to the head of the
whale.