

February 2021
We're so excited to share another monthly journal written by the lovely Lola Jones, also known as @pocketfullofbuttercupson Instagram. Lola is a wonderful photographer and all round creator of beautiful content, raising her twin daughters Maya and Chloe from her house near the Peak District. Each month she will give us a small glimpse into her world, inspiring you with activity ideas, recipes and more.
With the final month of winter coming to an end, we are looking forward to early spring and warmer days we all so long for. Although we have seen more snow this month and it is still bitterly cold, we’ve also noticed the light rising a little earlier in the mornings and setting later in the afternoon. We’ve spotted a few snowdrops on our walks and heard birds sing especially beautifully in the winter sunshine. Spring can’t be far away now.
This month we are bringing you some craft ideas for the upcoming Mother’s Day and hope that they will inspire you to create something beautiful for that special person in your life.

DIY Mother’s Day Card
This 3D greeting card is easy enough to do with toddlers and older children.
You will need:
- A4 sheet for drawing/colouring*
- A5 folded in half for the card*
- Paint of your choice (we used watercolour and acrylic)
- Scissors
- Glue
*We used Khadi handmade rag paper here, but anything of 150 gsm or more is good to use.
Start by drawing/colouring your butterflies and flowers. If you have younger children, ask them to colour the whole of the A4 and once the paint is dry, freestyle and cut the shapes you like. Older children could draw their own shapes, colour and cut them out. Assist your little ones where you see necessary. I helped my girls to cut and a little with the drawing too, but they did the rest independently. Then simply glue your shapes onto the folded card. We also added a handwritten “Mummy” on the front. I asked the girls to write the word on a separate piece of paper and then you can cut or tear the paper around it, which is what I did, for a rough and slightly frayed look.
Personalise inside with a loving message.


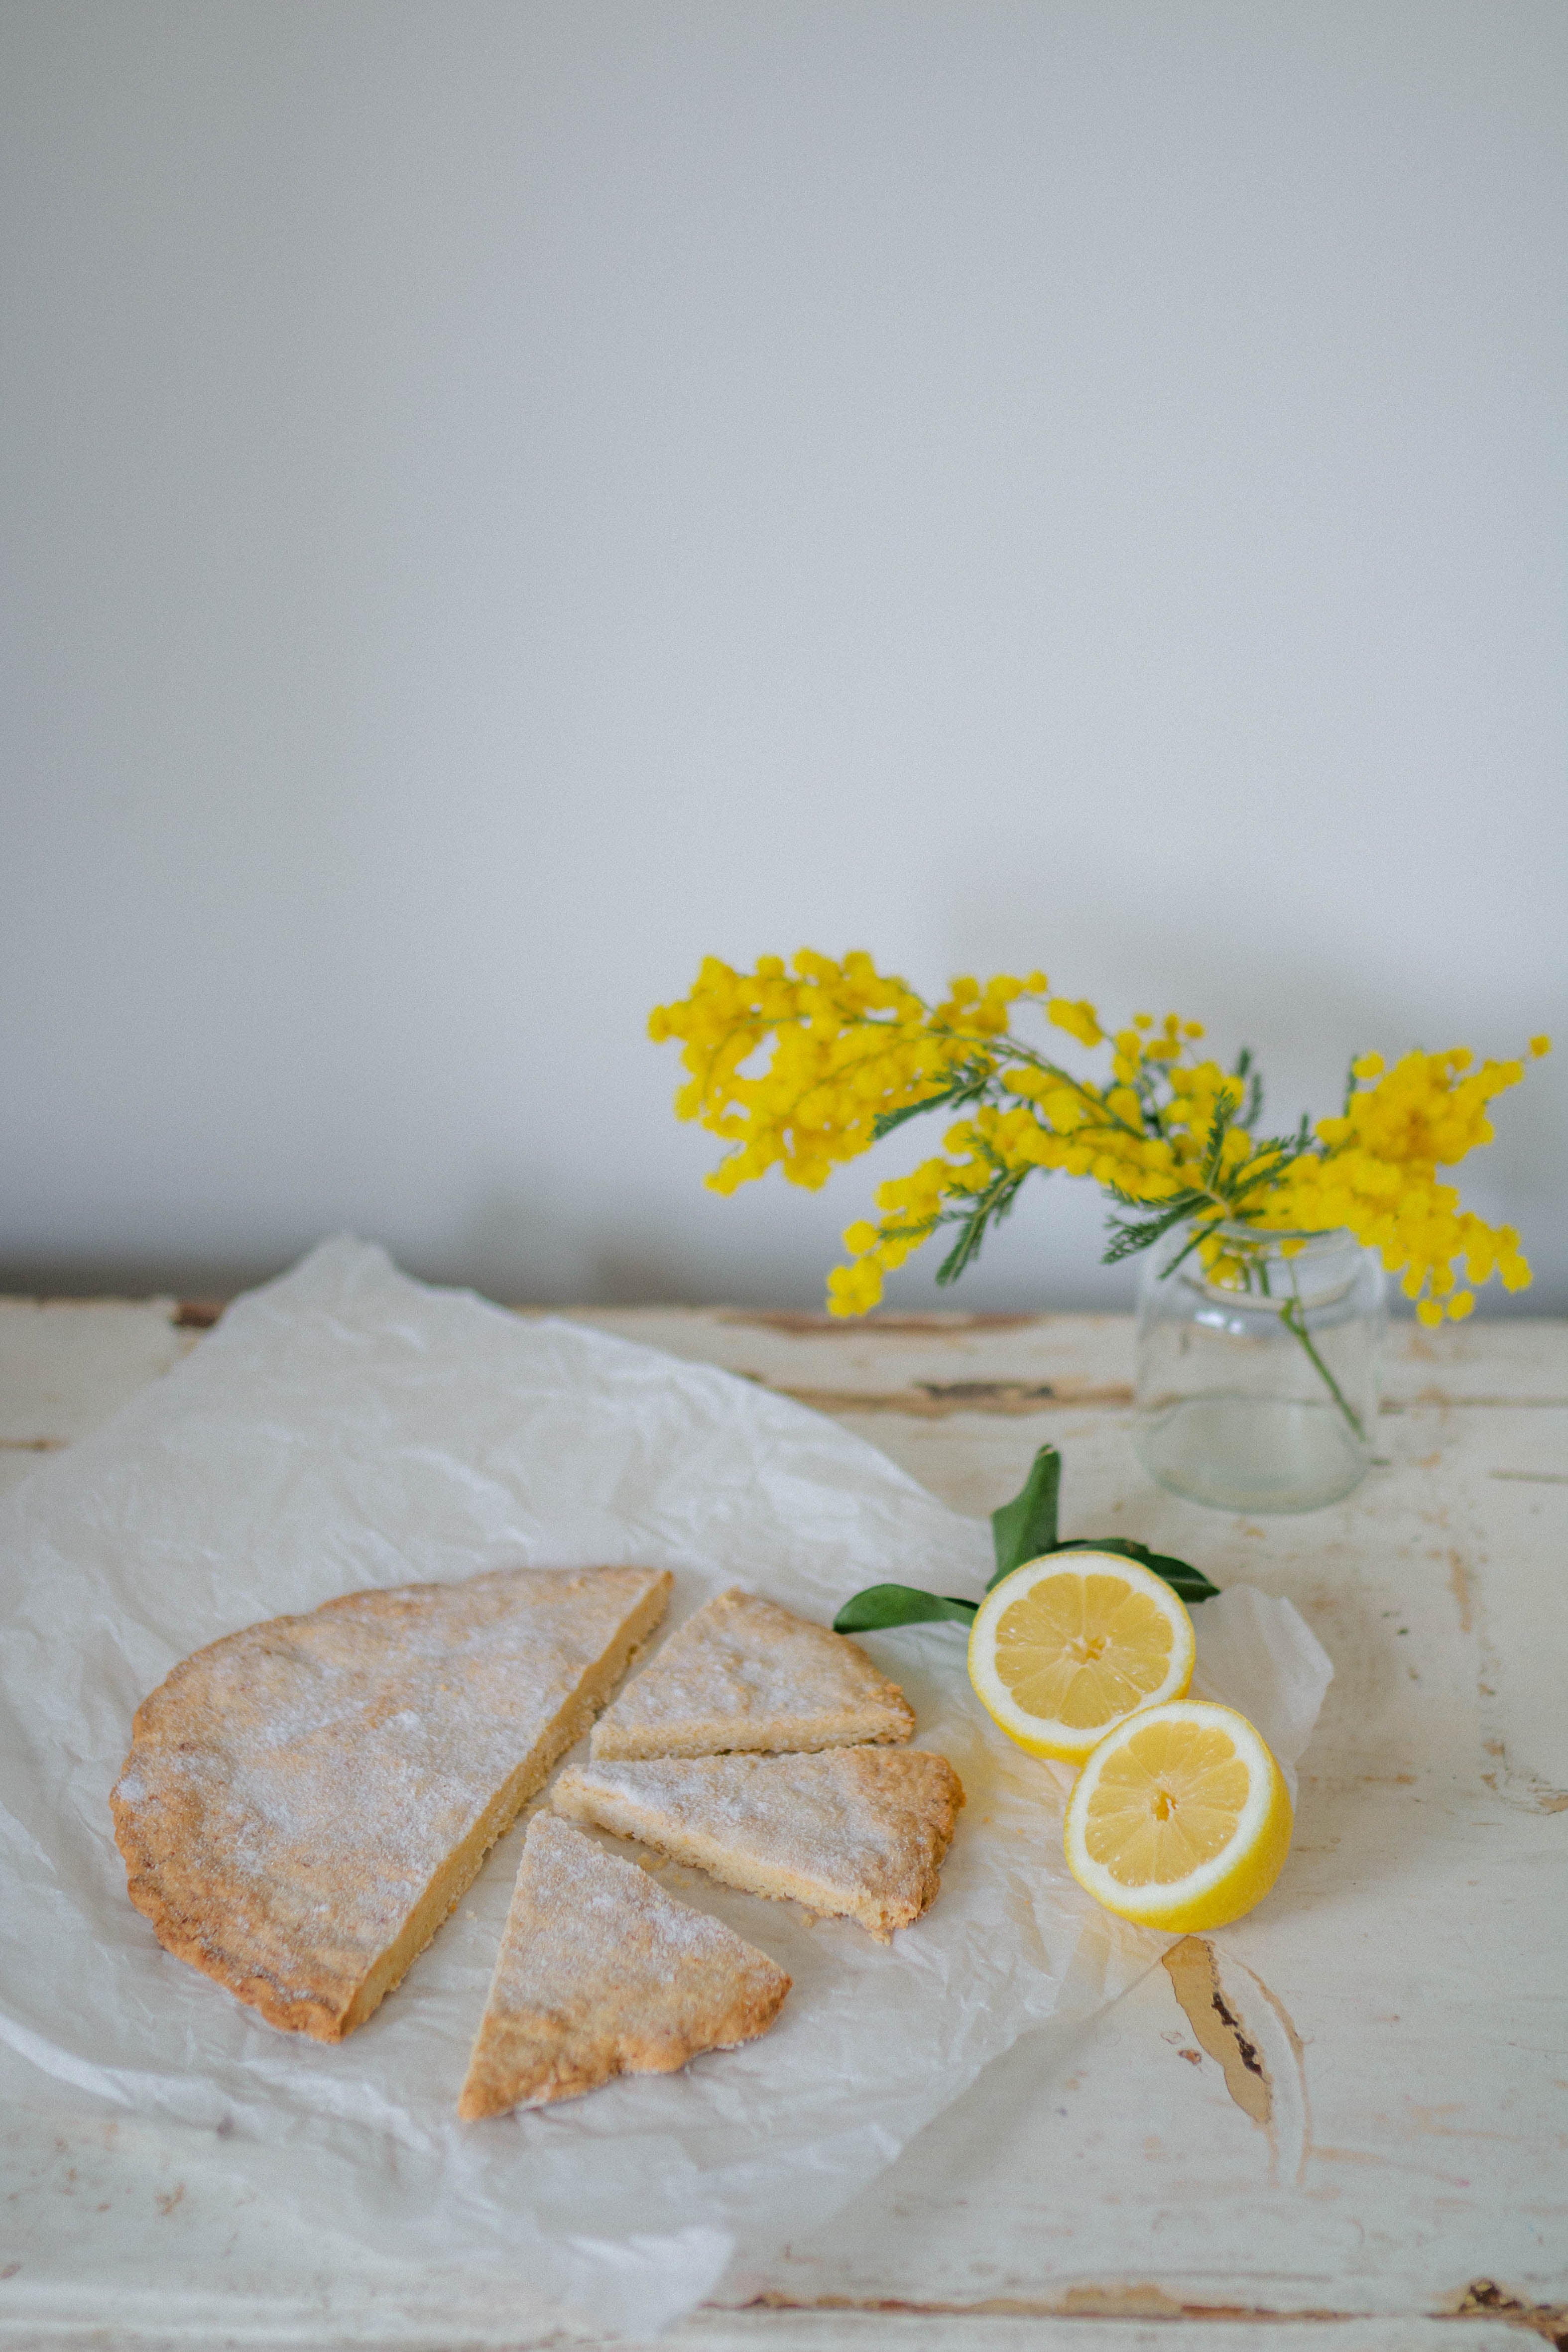
Lemony Shortbread
This humble biscuit contains only five basic ingredients. I like to make one large biscuit and slice it into wedges once baked. You can cut in into shapes if you like, but remember the less you work the dough, the lighter and crumblier it will be.
You will need:
- 200g plain flour
- 50g caster sugar, plus extra for sprinkling over
- 125g unsalted butter
- zest of one lemon
- seeds from 1 vanilla pod or 1 teaspoon of vanilla paste.
Method:
Preheat your oven to 170C. Mix the flour and sugar together in a mixing bowl. Rub in the butter with your fingers, add the zest and vanilla. Do not kneed the dough, instead, pat it down flat straight onto the baking tray, lined with greaseproof paper, so that once you have shaped it, you don’t have to move it. If you are making one large biscuit, you may want to score lines on it, so it is easier to cut into pieces later. Sprinkle over some caster sugar and put the dough in the oven for about 20-30 minutes or until light golden. Leave to cool. Enjoy at home or make an extra batch to gift to someone special. Placed in a jar, this would make a sweet doorstep present.


DIY Watercolour Paper Flowers
Flowers that last forever and do not require any maintenance? Yes please!
You will need:
- 4-5 A4 sheets of paper (we used Khadi handmade rag paper here, I love its texture and we use it for most of our crafts)
- Scissors
- Watercolour paint (we used Stockmar)
- Florist tape
- Rustic floral wire (we used brown, purchased from here: https://www.easyfloristsupplies.co.uk/)
- Pliers
- Hot glue gun
- Black tissue paper
Start by making your petals. You can cut them with scissors if you like, but I prefer to tear them, it gives the flowers a natural, rustic feel. Make petals in various sizes. We used smaller petals for the centre and larger ones for the outside. Our flowers had somewhere between 6 and 9 petals each. Paint the petals with watercolour on both sides and let them dry. Pre-cut the wire to your desired length and start assembling your flowers. This part will require a little patience, but the result is worth it. Start by adding a petal or two at a time to the wire and attaching them with a piece of florist tape and shaping them as you go. Make sure some of the wire is visible in the middle as you will need it for the finishing touch. Once you are happy with your flower, roll a small ball from the tissue paper (this will be the centre of the flower) and attach it to the wire using the hot glue gun.


