April 2022
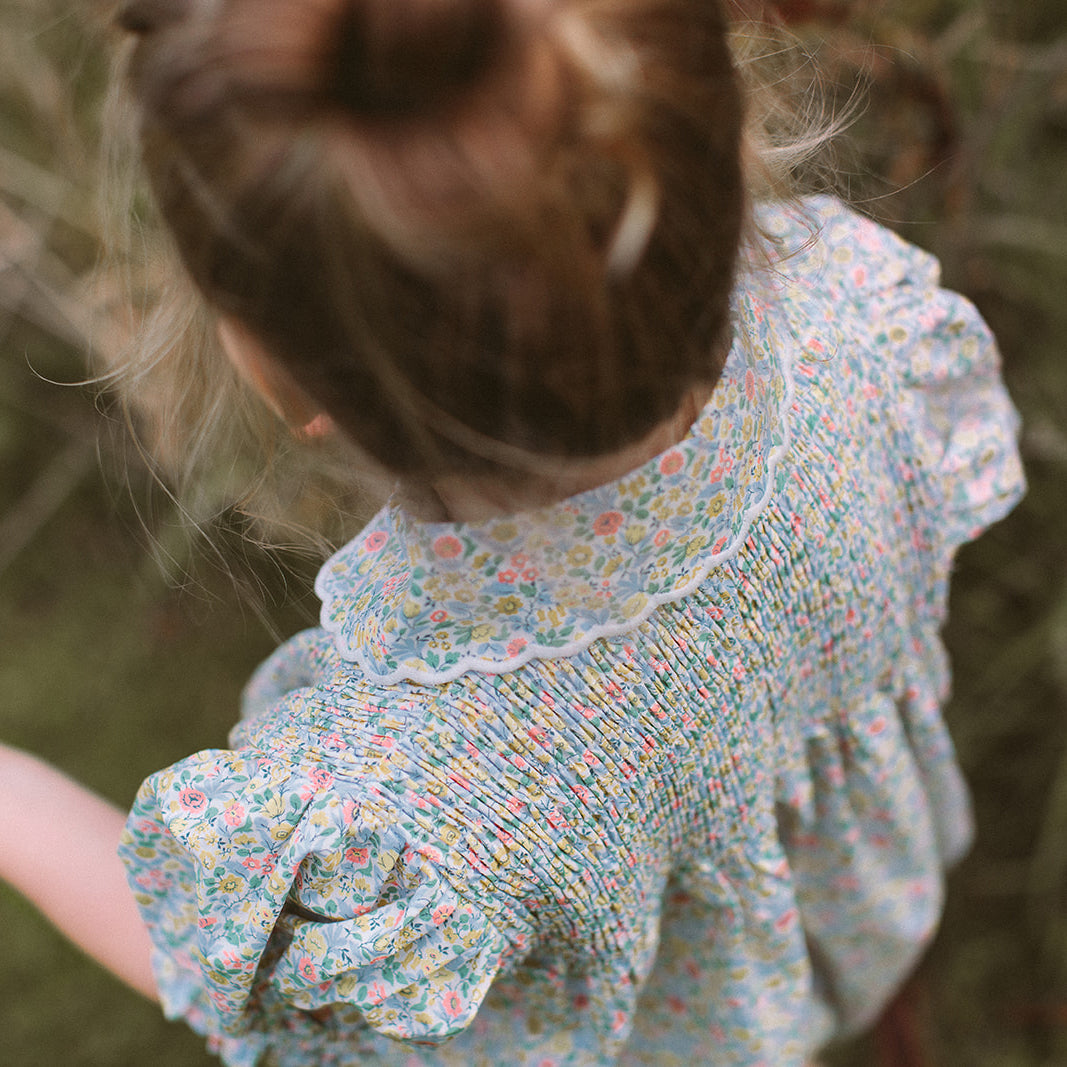
We're so excited to share another monthly journal written by the lovely Lola Jones, also known as@pocketfullofbuttercupson Instagram. Lola is a wonderful photographer and all round creator of beautiful content, raising her twin daughters Maya and Chloe & her baby Thea from her house near the Peak District. Each month she will give us a small glimpse into her world, inspiring you with activity ideas, recipes and more.

Can you believe how quickly this year is flying?! How is it that we are in April already? April is always a very busy month for us, as my twin girls’ birthday month. Easter Sunday also falls in April this year and it is one of my favourite holidays. I love making it fun for my girls and take my role as the Easter Bunny rather seriously! I get creative with their Easter gifts and spring crafts in general. I feel like this is when I finally come alive after a long dreary winter. This month we bring you three really simple paper crafts to have a go at during Easter holidays.
As always we hope that you enjoy this month’s inspiration. Should you decide to have a go at any activities, we would really love to see them. Please tag us #inspiredbynelliequats
DIY EASTER CARDS
Sweet and inexpensive Easter card design with tools you are likely to have at home already.
You will need:
- A5 paper folded in half
- Washi tape (plain colours or patterned) or fabric ribbon
- PVA glue (if using fabric ribbons)
- Scissors
- Alphabet stamps and ink pad
- Paint/pencil or a felt tip pen to draw the eyes, mouth and whiskers
To make your cards start by folding A5 paper in half. Next make bunny ears with your tape or ribbon. Cut a longer piece and attach to the card, then cut a shorter piece and attach on an angle to make the ear flop. Repeat with the second ear. (I show the whole process in a reel that you will be able to find on @nelliequats instagram page). Next draw the eyes, cut a small triangle from the tape or a ribbon to make a nose, then draw a mouth underneath. Next draw the whiskers. And finally, using the alphabet stamps and ink pad, type your greeting.


Paper plate fun
Another fun spring craft we really enjoyed with my girls recently.
To make your own paper plate hen you will need:
- White paper plates
- Paint and brush
- Scissors
- Paper glue
- Self-adhesive googly eyes/or you can draw one using a brush and paint
Cut a slightly curved line nearer the top of your paper plate - this will be the body of your hen. Cut a wing from the smaller piece.
Next colour the hen and the wing in any colour you would like (ours is spotty). Take the second plate and cut that in half, then colour it in the colour you would like the legs and the beak of the hen to be. When everything is dry, start assembling the hen by attaching the wing to the body.
Next, from the flat middle part of the plate, cut a small triangle for the beak and a thin strip to make two legs, then cut the feet from the ridged edge. Attach them to the hen using paper glue. You can use red tissue paper to make the red comb and the wattle. We did not have any at home, so we improvised by scrunching a piece of paper and then painting it in red before tearing and shaping into the comb and wattle and gluing them in place. Lastly add your eye.


DIY SPRING PAPER BUNTING
Inspired by the arrival of spring, this pastel paper bunting would be a great addition to Easter celebrations. Hang it above your Easter table or in the garden where egg hunt is taking place.
To make the bunting you will need:
- Colourful paper
- Pencil
- Scissors
- Glue (we used a hot glue gun)
- String
Using the pencil, draw the shapes (rectangles, triangles or scallops) of the bunting on one side of the paper. Cut them out, space them evenly and attach to the string using the hot glue gun.